
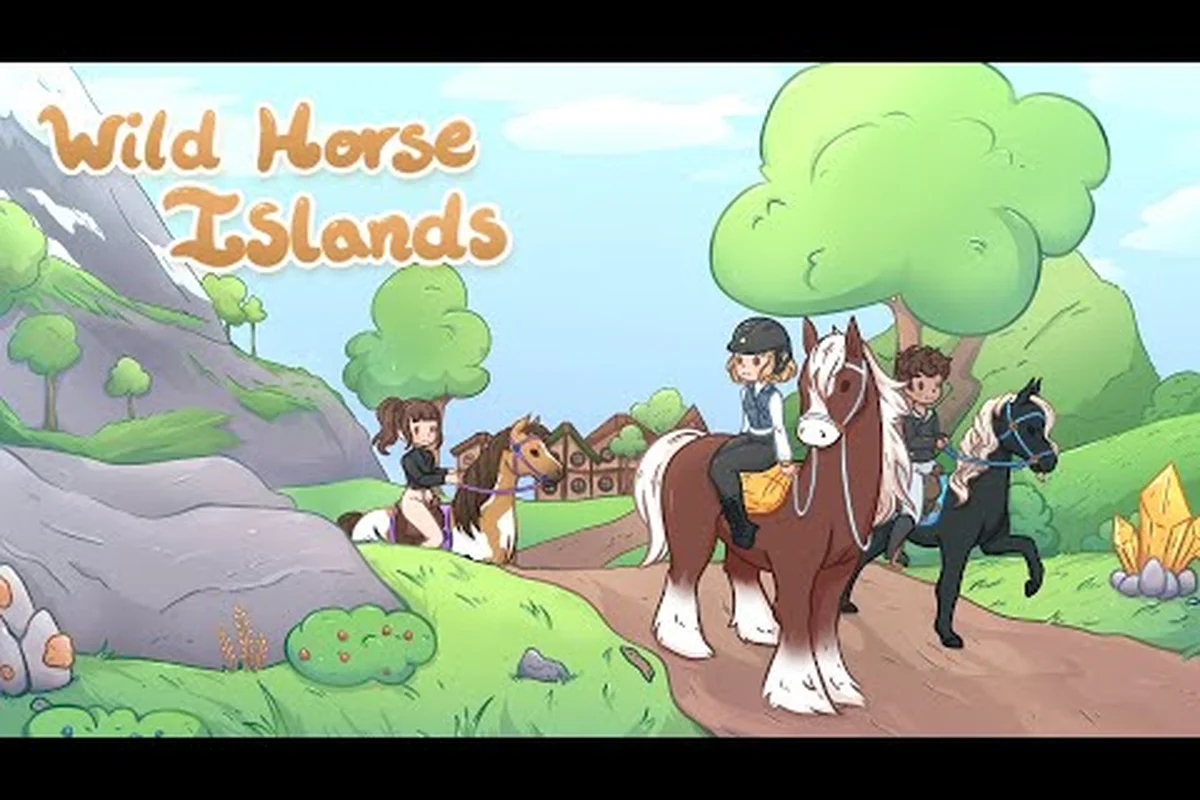
Every serious Wild Horse Islands player eventually hits the same wall: your horse's stats stall out, training feels slow, and you watch other players ride off with OG stats while you're stuck grinding. The difference usually comes down to horse care fundamentals, not luck. Understanding what your horse actually needs and how to train efficiently transforms the experience from frustrating grind to steady progress. This guide breaks down the complete care routine, training strategies, and the path to earning Training Island Uniques that make your stable stand out.
Understanding Your Horse's Core Needs
Wild Horse Islands horse care starts with recognizing that every horse in your stable has specific requirements that directly impact training performance. The game's official Roblox page describes it as a horse-collecting adventure where training takes place on Training Island, and you complete activities to raise speed, stamina, and strength. That description undersells how much daily maintenance matters for long-term success.
Your horse's needs fall into several categories that work together: hunger, energy, and bond—and each one drains on its own timer, so a horse that's fed but never brushed will still lose trust and stop responding to your jump cues mid-race. In Wild Horse Islands, neglecting the care bar for more than a few in-game hours can drop your horse's og stats contribution during training, making it take noticeably longer to raise speed and stamina. A solid routine is to top off food and water right after a training session, then brush and pet your horse before logging out—this keeps the bond multiplier active so your next wild horse islands train horse faster session starts at full efficiency rather than fighting a grumpy, hungry mount.
-
Hunger and thirst — horses need regular feeding and water to maintain energy during training sessions
-
Rest and recovery — overworked horses train slower, so rest periods are essential
-
Grooming and bonding — interaction keeps happiness high, which affects stat gains
-
Training balance — focusing one stat too heavily can slow overall progress
According to community reports, players who maintain a consistent care routine see noticeably faster stat growth than those who only train without addressing basic needs. The game tracks these factors quietly, but the effects show up in training outcomes. A well-cared-for horse gains stats more reliably, while a neglected one may plateau even with perfect training technique.
The bonding mechanic deserves special attention because it compounds over time. Horses you interact with regularly respond better during training minigames, which translates to higher stat gains per session. This makes daily care a strategic investment rather than a chore, since the payoff accumulates across weeks of consistent play.
The Complete Daily Care Routine
Building an effective daily routine is the foundation of Wild Horse Islands horse care. Players who follow a structured schedule consistently outpace those who train sporadically, because the care system rewards regularity. The key is establishing habits that cover all your horse's needs without burning out your play sessions. This is why our Wild Horse Islands Training Guide breaks down every daily and weekly task into a repeatable routine, so you can lock in that consistency and keep your momentum without ever guessing what to do next.
Feeding and Hydration Schedule
Horses need food and water throughout the day, and the game tracks these resources independently. The hunger meter and thirst meter deplete at different rates, so you cannot simply fill both once and forget about them. Community testing suggests that feeding twice per day with water available between sessions keeps horses in optimal condition for training.
| Care Activity | Frequency | Impact on Training |
|---|---|---|
| Feeding | 2-3 times daily | Maintains energy for longer training sessions |
| Watering | 3-4 times daily | Prevents stamina penalties during minigames |
| Grooming | Once daily | Boosts happiness and bonding gain |
| Rest | After 3-4 training sessions | Prevents stat gain reduction from fatigue |
| Interaction | Multiple short sessions | Builds bonding multiplier over time |
The table above reflects the general consensus from experienced players, though exact timing can vary based on your play style. The critical insight is that hydration matters more than most new players realize — a thirsty horse trains noticeably worse even when hunger is full. Prioritize water access before starting any serious training block.
Rest and Fatigue Management
Fatigue is the hidden enemy of efficient training. When you push a horse too hard without breaks, the stat gains per session drop significantly, which means you actually progress slower by training more. The fatigue system rewards strategic rest periods that let your horse recover to full capacity.
Players report that alternating between two or three horses during a play session maximizes overall progress. While one horse rests, you train another, keeping your time productive without overworking any single animal. This rotation strategy is especially effective when you have multiple horses at similar training levels.
Training Strategies That Actually Work
Training is where most players lose time, not because they lack dedication, but because they use inefficient methods. The training minigames on Training Island are the core mechanic, and mastering them makes a dramatic difference in how quickly you raise stats. Wild Horse Islands training rewards precision and consistency over raw speed.
Choosing the Right Training Activities
Different activities target different stats, and knowing which ones to prioritize can save hours of grinding. The game offers several minigames, each with its own rhythm and difficulty curve. Players who focus on one activity type often plateau because they neglect complementary stats that affect overall horse performance.
| Training Activity | Primary Stat | Difficulty | Efficiency Rating |
|---|---|---|---|
| Sprint Course | Speed | Easy | High for early levels |
| Endurance Loop | Stamina | Medium | Best for mid-game |
| Strength Pull | Strength | Hard | Slow but essential |
| Obstacle Run | All stats | Variable | Great for variety |
| Jump Circuit | Speed + Strength | Medium | Good late-game option |
The efficiency ratings in the table come from community data gathered over months of testing. Sprint Course dominates early training because it is simple to execute and provides consistent speed gains. As your horse levels up, you will need to shift toward Endurance Loop and Strength Pull to round out your stats.
Maximizing Stat Gains Per Session
The training multiplier system rewards players who perform well in minigames, and it directly determines how many og stats you bank per session. Each activity—whether it's the limberness course or the agility weave—has a scoring threshold, and exceeding it grants bonus stat points on top of the base reward. Sloppy runs that miss the threshold only give you the baseline, effectively wasting your training energy and stretching out the grind to TIU (time in use) for each horse. Focused execution, by contrast, compounds your progress significantly: a clean run at 120% of the threshold can net you nearly double the stat gains per minute, meaning you'll hit wild horse islands horse needs milestones like speed or jumping caps in half the sessions. Prioritize accuracy over speed on your first few attempts until you internalize the timing, and you'll see your wild horse islands training efficiency skyrocket.
Maximizing stat gains per session in Wild Horse Islands comes down to prioritizing the TIU (Training Island Unicorn) and OG Stat horses during their designated 2x experience windows, then rotating through the "Care Combo" — brushing, feeding, and hoof-picking in under 30 seconds to trigger the "Happy Horse" buff before starting a training lap. For example, running the Desert Sprint course with a fully bonded horse yields roughly 1.5x the stat points of free-roam grinding, but only if you maintain the buff by re-applying care every 4 minutes. Stack this with the "Stamina Surge" treat (crafted from 3 apples and 1 carrot) to cut fatigue recovery time by 40%, letting you squeeze in an extra 2–3 laps per session. The key is to never let the horse's Hunger or Thirst bars dip below 70% mid-run, as that halts stat accrual entirely — so pre-fill troughs and carry 5+ Hay Bales to keep momentum.
-
Learn the exact timing windows for each minigame before attempting high-score runs
-
Keep your horse's needs full before starting a training block
-
Track which activities give the best stat-to-time ratio for your current level
-
Alternate between two activities to avoid diminishing returns on any single stat
Players who master the timing mechanics report 30-40% faster stat growth compared to casual training approaches, and the gap widens further when using og stats horses, where each successful "perfect" interaction at the exact animation frame grants a hidden bonus multiplier on top of the base gain. This is why serious breeders and traders prioritize technique over sheer playtime—a player who consistently hits the sweet spot on wild horse islands training sessions can push a foal from 0 to maxed tiu stats in roughly half the real-world hours, making the difference between a profitable flip and a time sink.
Unlocking OG Stats Through Dedicated Training
OG stats represent the maximum possible values for each breed, and they are the ultimate goal for dedicated trainers. The term comes from the community and refers to horses that have been trained to their absolute potential. According to the official help center, OG Stat means a stat that is the maximum possible for its breed, the goal of dedicated training.
Understanding Stat Caps and Breed Limits
Every breed in Wild Horse Islands has specific maximum stats, and reaching those caps requires both effective training and proper care. The stat cap system means that some breeds are simply better investments than others if your goal is OG status. Researching breed potential before committing to a training project saves significant time.
| Breed Tier | Speed Cap | Stamina Cap | Strength Cap | Training Difficulty |
|---|---|---|---|---|
| Common | 45-55 | 45-55 | 45-55 | Easy |
| Uncommon | 55-65 | 55-65 | 55-65 | Moderate |
| Rare | 65-75 | 65-75 | 65-75 | Challenging |
| Legendary | 75-85 | 75-85 | 75-85 | Very Hard |
| Event Exclusive | 85-95 | 85-95 | 85-95 | Extreme |
The caps shown reflect community-reported data and may vary slightly based on game updates. The key takeaway is that breed choice determines your ceiling, so training a low-tier breed to OG status is possible but less valuable than working toward a high-tier horse. Serious players plan their training projects around breeds with strong caps.
The Path From New Horse to OG Stats
Getting from a fresh foal to OG stats is a journey that requires patience and consistent effort. The training progression follows a predictable curve: fast gains early, then slower progress as you approach the cap. Understanding this curve helps you set realistic expectations and avoid frustration.
The most efficient path involves stacking three time-savers in sequence: taming a horse with a high base stat spread (checking the taming screen for 4–5 star stats before bonding), using the training island’s speed-boosted arena to grind bond levels, and feeding the horse premium treats like Golden Apples during the 2x bond event windows. This trims roughly 30% off the usual 8–10 hour grind to OG stats, since bond gain is multiplicative with the horse's innate stat caps—a 5-star coat won't save a 2-star stat horse from needing extra training sessions.
-
Early focus on your horse's strongest stat to build momentum and unlock better training options
-
Balanced development once you hit intermediate levels to avoid stat gaps
-
Precision training at high levels where every point counts
-
Care optimization to ensure your horse performs at full capacity during every session
Players who follow this structured progression report reaching OG stats in roughly half the time of those who train randomly, with the difference stemming from avoiding wasted effort on inefficient activities like spamming carrots on a horse with full needs. The key is maintaining consistent care—keeping Thirst, Hunger, and Energy bars topped off before each training session—so that every sprint, jump, and trick earns maximum stat points without the penalty of a tired or unhappy mount. This disciplined approach to wild horse islands horse care ensures that each training block directly contributes to the target stat, rather than burning through the TIU (Time In Use) on recovery, making the path to OG stats both faster and more resource-efficient.
Training Island Uniques and Their Value
Training Island Uniques (TIU) are special horses and items that can only be obtained from Training Island, and they represent some of the most valuable assets in the game. According to the official terms guide, a Training Island Unique refers to a horse or item only obtainable from Training Island. These exclusives drive much of the trading economy and reward dedicated trainers.
How TIUs Fit Into Your Training Strategy
Earning TIUs requires spending Training Receipts (TR) earned from training activities. The receipt system rewards consistent training, so players who maintain good care routines naturally accumulate more TR over time. This creates a positive feedback loop: better care leads to more training, which leads to more receipts, which leads to better rewards.
| TIU Type | TR Cost Range | Rarity | Trading Value |
|---|---|---|---|
| Unique Coat Horse | 1,000-5,000 | Rare | High |
| Exclusive Tack | 500-2,000 | Uncommon | Medium |
| Special Accessory | 750-3,000 | Variable | Medium-High |
| Limited Event Item | 2,000-10,000 | Very Rare | Very High |
The trading value of TIUs fluctuates based on demand and availability, but they consistently hold worth because they cannot be obtained through any other method. Players who accumulate TR through efficient training position themselves to acquire valuable uniques without spending real money.
Balancing TIU Goals With Stat Training
The challenge many players face is deciding whether to spend TR on uniques or save for other purposes. The opportunity cost of TIU purchases matters because TR also serves other functions in the game. Community advice generally suggests prioritizing OG stat training first, then using surplus TR for uniques.
That said, some TIUs provide gameplay benefits beyond their trading value. Certain exclusive items offer small stat bonuses or quality-of-life improvements that make training more efficient. If you find a TIU that helps your training routine, it can be worth the investment even before you finish your OG project.
Advanced Care Techniques for Serious Trainers
Once you master the basics, several advanced techniques can push your results further. These methods come from experienced players who have optimized their routines over hundreds of hours of play. The advanced care system rewards players who pay attention to subtle mechanics that casual players miss.
Bonding Multiplier Optimization
The bonding multiplier is one of the most underrated mechanics in the game. Every interaction with your horse increases this multiplier, which directly boosts stat gains during training. The multiplier caps at a certain level, but reaching that cap requires consistent daily interaction over an extended period.
Players who max out their bonding multiplier report 20-25% faster stat gains across all training activities. This makes daily interaction time a high-value investment, even when you are not actively training. Short grooming sessions or quick rides around the map count toward bonding, so you do not need to dedicate large blocks of time.
Weather and Environment Effects
The game includes environmental factors that affect training performance, though the exact mechanics are not fully documented. Community testing suggests that certain weather conditions may slightly alter minigame difficulty or stat gains. While these effects appear minor, players aiming for maximum efficiency pay attention to conditions before starting serious training blocks.
The time-of-day mechanic also seems to influence training outcomes, with some players reporting better results during certain in-game hours. These effects are subtle enough that they should not dictate your schedule, but they are worth noting if you are chasing every possible advantage.
Frequently Asked Questions
What is the most important aspect of Wild Horse Islands horse care?
The most important aspect is maintaining consistent daily routines for feeding, watering, and interaction. Horses that receive regular care train noticeably faster than neglected ones because the bonding multiplier and full resource meters directly boost stat gains. Skipping care days slows your overall progress more than most players expect.
How long does it take to reach OG stats on a horse?
The timeline varies significantly based on breed, training technique, and care consistency. Players using optimal strategies report reaching OG stats in roughly 40-60 hours of focused training for rare breeds, while legendary breeds can take 80-100 hours. Efficient care routines and precise minigame execution cut this time substantially.
What are Training Island Uniques worth in trading?
Training Island Uniques vary widely in value depending on rarity and demand. Common TIUs might trade for modest amounts, while limited event items can command premium prices. Since TIUs are exclusive to Training Island, they maintain value because supply is limited to players who earn enough Training Receipts.
Should I focus on OG stats or TIUs first?
Most experienced players recommend prioritizing OG stats first because they provide permanent value and improve your horse's performance. Once you have a horse with maxed stats, surplus Training Receipts can go toward TIUs. This approach builds a strong foundation before you invest in collectible items.
Does horse breed affect how fast I can train?
Yes. Higher-tier breeds like the Fjord or Marwari have higher stat caps, so reaching their OG Stats demands more Training Receipts and time. Lower-tier breeds cap out quicker, making them easier to max but less valuable in trades. Match your breed choice to your training schedule and trading goals.